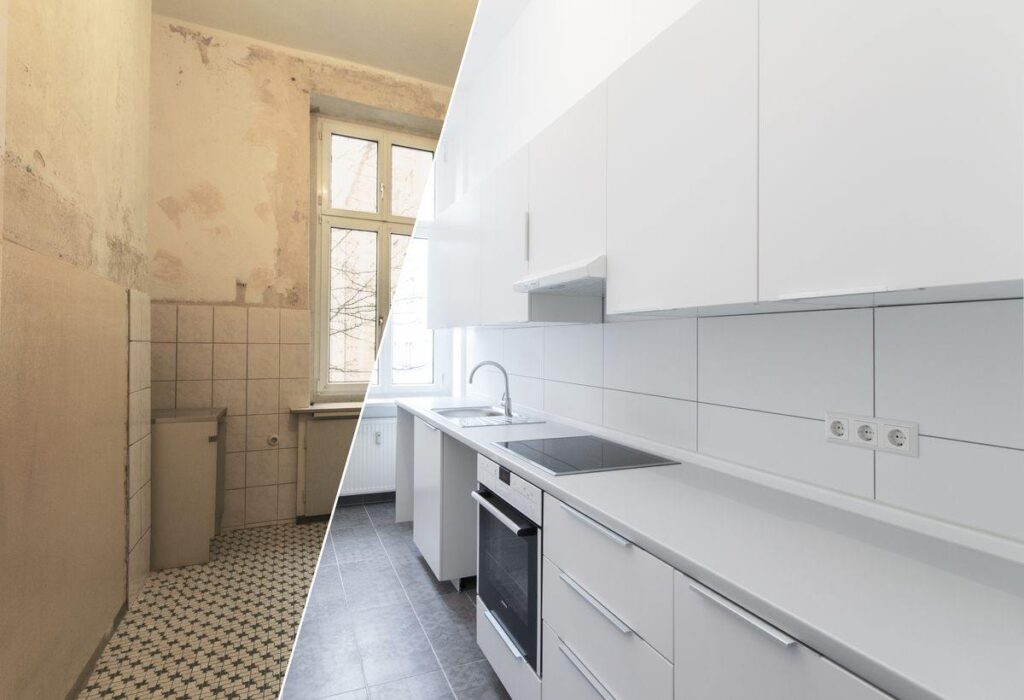
Whether you’re looking for modest or grand kitchen renovation ideas, there is a series of steps to take. By following these steps chronologically, you can have a brand new kitchen. A kitchen that is more livable, increases the value of your home and revitalizes your family life.
Here are 7 steps in the kitchen renovation process:
1. Planning and Professional Consultation
Yes, because in as much as DIY kitchen remodels are popular, the best way to successfully achieve your vision is to talk to an expert. You could speak to an interior designer or contractor (or both). When you loop in a professional from the get-go, they can show you how to go about your ideas, where to get the best rates, and which ideas could be problematic.
2. Demolition
It’s not necessary to completely tear out everything when remodeling a kitchen. Therefore, this process entails dismantling and getting rid of anything damaged or old. Try to get a professional to handle any work on the fixtures, floors, cabinetry, or walls.
That prevents damaging hidden electrical and plumbing wires that are concealed beneath those surfaces. Make sure the water and electricity are off if you decide to do a DIY project. Remember to also get a dumpster to cart away the waste.
3. Rough Construction
Have any concrete or masonry works? Here’s where they come in. This step goes hand in hand with any plumbing or electrical works that need to go in the walls.
It’s a time-consuming process that involves the framing and construction of new islands, walls, and counters. Having said that, it would be wise to hire a licensed professional to inspect the work if you’re doing it alone.
4. Finishing
Following your project design and finish the drywall. This covers any drywall required for countertops or other kitchen areas. You should also prime your drywall although painting will come much later. This prevents scratches and scuffs on the facing paper.
5. Door and Window Installation
If you had brought down your old windows and doors, this step involves the installation of new ones. If you didn’t take them down, you could spruce them up with some cleaning and sealing of cracks. To make cabinet installation more precise, you should also make sure that they have trim installed.
6. Cabinetry, Countertops, Faucets, & Appliances
You’ll start seeing your project come to life in this step. Install your new cabinetry, sinks, faucets, and countertops. After these are in place, bring in your new appliances. It could be a new fridge, stove, microwave, or luxury items like a water filtration system. Whatever it is, make sure they all go in during this stage.
7. Flooring and Final Painting
Although some renovators put the flooring in before the cabinetry is installed, we like to do it last. We put it last because all types f flooring material be it tiles, marble, or wood, are susceptible to stains and damage from other works.
Painting comes after flooring because flooring replacement requires messy work. There is a considerable chance that a lot of stone & tile dust, sawdust, or cement will damage your freshly painted walls and trim if you paint first and then do the floors.
Enjoy Your Kitchen! Let Us Handle All Your Kitchen Renovations in Australia
Depending on the scope of the job, a kitchen renovation might take anywhere from a few weeks to a year or more. That’s a lot of time in your busy schedule. Let us take the job off your hands while making sure your dream comes to life perfectly. Call us!
Read also: Here Are Some Benefits of Having A Carrara Marble Benchtops


